Showing posts with label Before and After. Show all posts

Tuesday, June 8, 2010

All Those Months Of Stalking Blogs Paid Off!


I had my first invite to Guest Host!! Yeee-Haaa! Thanks Meg! She has a great blog called A Little Knick Knack. She has a lot of great craft projects and kids projects, so go on over and check her out.

A month or so ago I bought a bedroom suit on Craigslist. It was advertised as  having a night stand, dresser, mirror and chest of drawers. When I got there I notice a headboard on the front porch. I asked if it was for sale and they said it went with the suit I was getting but it was broke. I checked it out and it was a mess. Not just a mess, but ugly to boot. It was 4 panels hung on 2 runners. Just not right! I had been looking at too many blogs to let ugly stand in my way. They said I could have it. We tried to get it in the truck but it was full. So what do I do???? I asked for tools and started to dismantle it. I didn't want it for a headboard. I just knew I could do something with the panels that were on it.

Let me show you what it started out as.....This will help you to see why I couldn't leave them behind!

Had to cut off a little on the bottom and sand it.

All primed up and starting to show her potential
Taped with Frog Tape and 3 coats of chalk board paint.

Chalk board dried, then covered and sprayed with  several coats of white satin Krylon

Sand her up real good. It's OK to be rough.

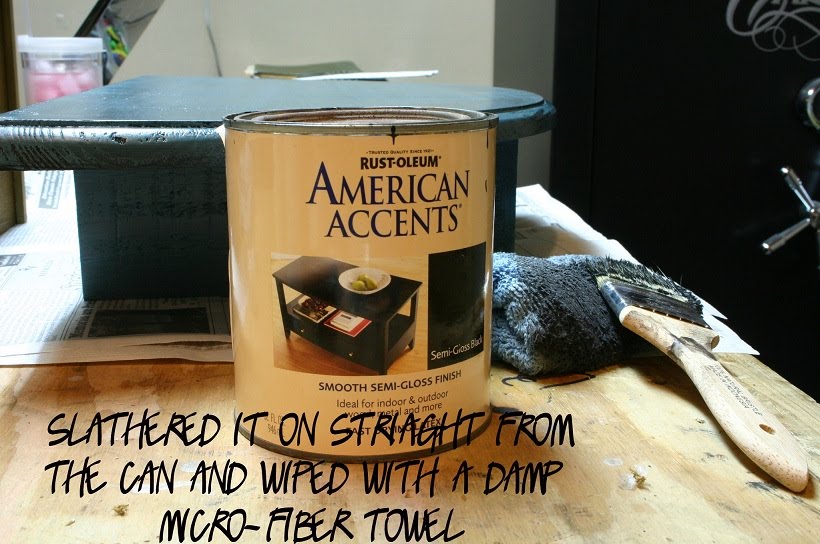
mixed a little black paint with some brown glaze, looks kinda like grey mud. Slather it on and rub off with a damp cloth. I prefer micro-fiber towels

From white and bright to just right! Just about there!!!

At this point in the journey I finished slathering the glaze on and rubbing it off. When that was done I sprayed a coat of Clear Sealant on it, then pulled of the paper to expose the chalk board! TaDa!


I can't stop here...a few more parting shots.....

Aged to perfection.


I have 3 more of these beauties to do something with!

Great party links:


Furniture Feature Fridays
All Thingz Related Life in my PJs
 

Sunday, June 6, 2010

Painters block solved!

I found this table at a yard sale and loved the lines and the storage it offered but was not crazy about the southwestern feel it had with the rough pine. I knew I could make a beauty out of it though. I summoned the help of my bloggin' friends as I was having myself a good ole' case of painters block!
 My first thought was black...which was echoed by Crystal over at  Crystal's Cottage. I then went to distressed white....which was echoed by April at The Painted Cupboard. But then it hit me...the color I keep seeing out there was calling to me. Bahama Sea Blue. Now you must know that blue has always been a color I could live without. None in my house or my wardrobe. But something has shifted! I want it in my house!!!

Let me just show you what we started with ~ then the transformation


I got the cute littel mini cup pulls at Hob Lob and painted them ORB
Let's see how we got there!


Much better. Looks black but is ORB


STOP THE BUS! NO PAINTIN' TODAY SAYS MOTHER NATURE!

Take 2


Now for the goodness! I just can't stand it! Needed a little somethin-somethin.....
maybe some sanding and then.......


WHAT NOW!!!!!!!
A Blue that even a blue hater can love!!!

Linking to these great parties!!
UndertheTableandDreaming Join us Saturdays at tatertotsandjello.com for the weekend wrap up party!

Funky Junk's Saturday Nite Special
Furniture Feature FridaysAll Thingz Related Life in my PJs


Saturday, May 22, 2010

I Jumped on The Cloche Wagon

Ok... I would give credit for the inspiration but I wouldn't know where to start. I think I must be the last person to transform a cheese dome into a Cloche! I used a brass candle stand and a Goodwill cheese dome. Primed the candle stand and the base to the cheese dome. After I primed I sprayed on 2 coats of ORB. Used a little silicone adhesive. This has to be one of the easiest projects yet. Low effort big pay off!

Eenie meenie miney moe...which one has to go?


Look at the curves on her...she even has nice feet!


Could you find a more simple project?

Linking to these great parties!


UndertheTableandDreaming The DIY Show Off


Tuesday, May 4, 2010

My Labor of Love For My Sweet Niece

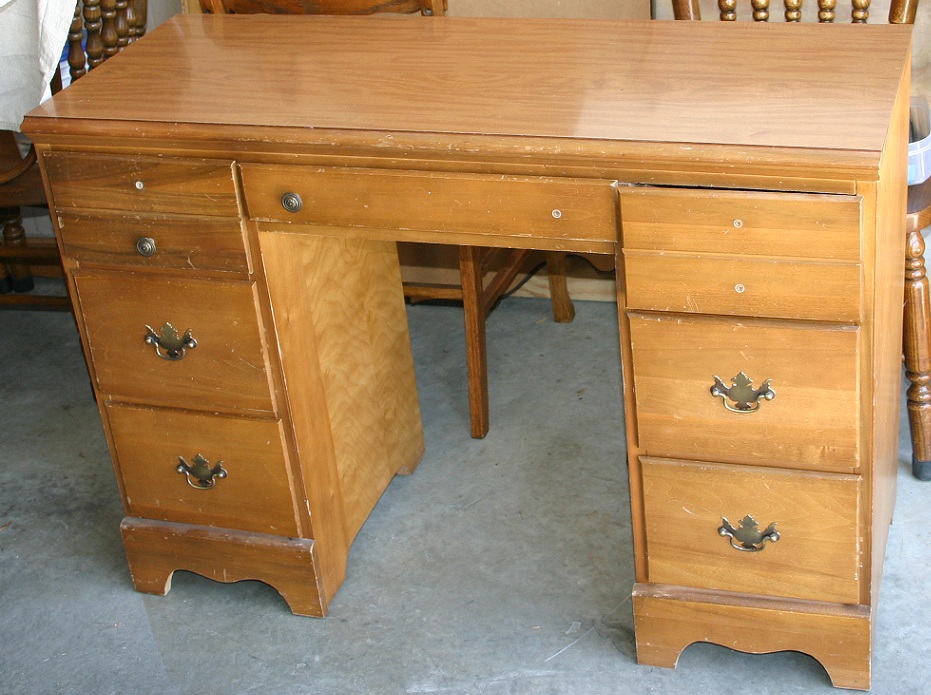
This is the desk I have been going on about and teased you with yesterday. My Mom got this at a yard sale 10 years ago for $8.00.
I still was not up to doing the clear coat, but I did get the keyboard drawer lined with some cute black and white paper.
I hope my niece loves it as much as I do. If only my brother didn't know I was doing this for her I could keep it....you think....that would be so wrong! OK I will give it to her.
I couldn't get the hubby to help me bring it upstairs to stage it. Argh! That means bad lighting and garage door background. Here is the before and some during pictures.
Shop mascots....my babies
holes filled with wood filler
My sweet hubby cut out the front of the drawer for me...gonna be a keyboard drawer.
All prime up.....
I primed with Gripper primer because the top is Formica. Let me tell you this stuff is thick. I brushed it on and had bad brush strokes on everything. Sand, sand, sand , and sand some more.
Next is the first coat of paint.....brushed on. Look at that! I had to do heavy sanding after the first coat. Drats!!
When I taped up the drawers I used the top of the desk to prop them on.....of course I covered it....I had just primed it the day before. When I was done taping I removed the heavy paper that I had covered the desk top with and  SHRIEK  I had chipped out big chunks of primer. Breath...breath....breath.
Rushed into stripping without taking pictures until I was almost done.
OK...at this point I re-primed and sanded the top. I then decided to throw caution to the wind and pull out the spray gun that beat me down when I tried to use it on another project I am working on. This time the difference is I am using latex and last time I was using latex enamel.
I just luuuuuuve power tools...

It actually worked pretty good.

Here she is all dressed and ready to go.
Bad lighting....it is white.
Lined the drawer with scrap book paper.
This is my first distressed piece. Please tell me what you think.

Linking up to:
Photobucket The DIY Show Off
HookingupwithHoHFurniture Feature Fridays
All Thingz Related DIY Day @ ASPTL http://linda-coastalcharm.blogspot.com/